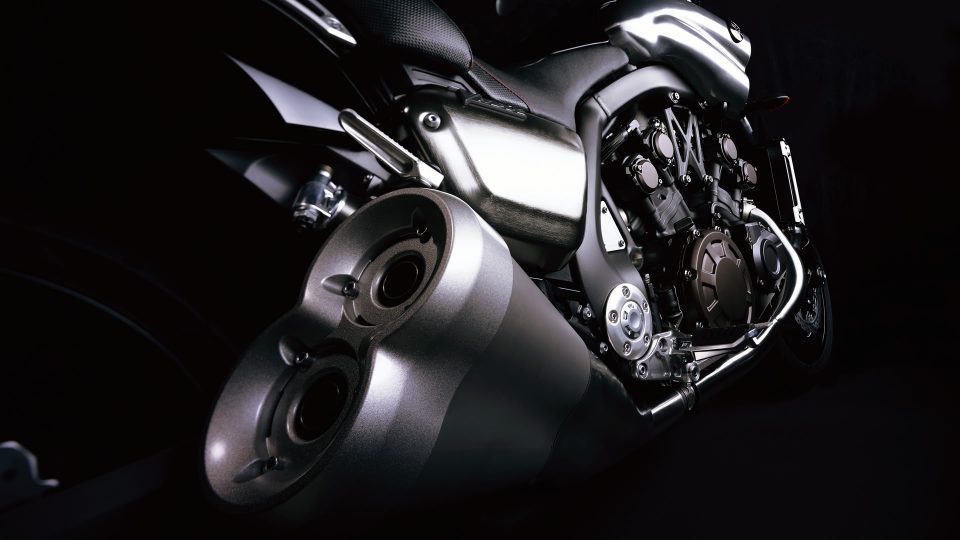
Installing a brand new exhaust system on your dirt motorcycle can be quite the task if you have no idea what you’re doing. All the different parts and motorcycle exhaust accessories may make it seem like mission impossible, but believe it or not, with a tiny bit of guidance, it’s perfectly doable even for those who aren’t as savvy and handy with tools.
First thing’s first, before you even start working on your bike, make sure to wash it, otherwise, the process will become much slower, and what’s the point of spending money on a brand new exhaust system if you don’t really take care of your bike, right? The next step is removing the old exhaust, which doesn’t require anything else but T-bars and some pliers if your exhaust springs. I used a 12, 10 and 8mm T-bar set for my Honda, but depending on the type of bike you have, the T-bars needed may vary. You can get all the necessary tools and motorcycle exhaust accessories online at affordable prices.

Use your pliers to remove the exhaust springs by clamping the spring’s end firmly and stretching it until it unlatches. Be careful and try not to slip with the pliers, as they can be quite tough. Once you’ve removed the springs, you can move to the muffler. Remove the side panels first to expose all of its bolts. Some exhausts are 2-piece systems, while others are 3 piece systems. Once you’ve removed the side panel, use T-bars to remove the bolts from the header. Some exhaust systems feature a bracket which has more bolts onto its frame. Not only does this reduce vibration, but it also helps line up the pipe properly. Once you’ve removed all the bolts, remove the pipe from the motorcycle.
Once you’ve removed the pipe, add the new header pipe. Make sure you put the whole exhaust on with all the bolts that you left loose. This will help you move the pipe around and line it up easier. Some exhaust systems can be a bit tight and will need to be pushed and twisted into the right spot before you tighten all the bolts. Work your way from the front to the back until all the bolts are placed properly. Double check the exhaust to see whether it’s lined up straight in the correct spot before tightening the bolts. Once you’ve tightened all the bolts, replace all of the tensioning springs as well. Replace the plastics and you’re ready to go.

