Contents
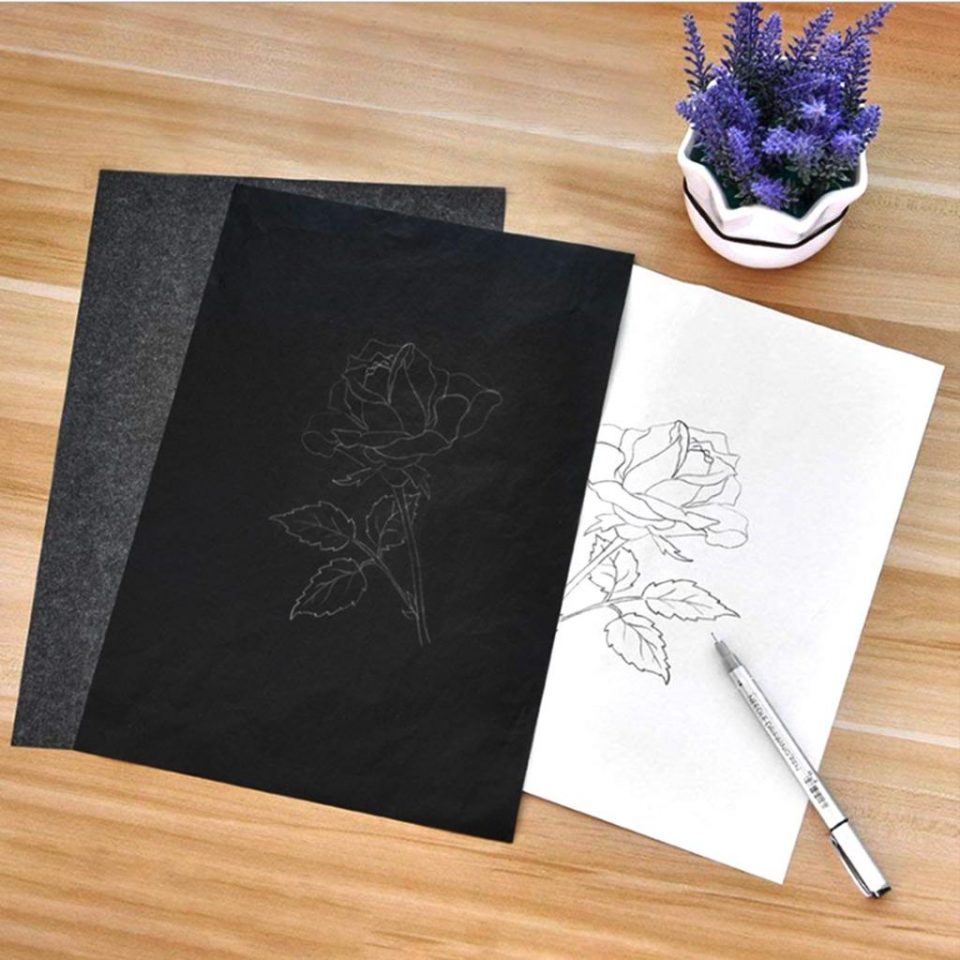
Drawing is fundamental for creating art. Unfortunately, not all of us have the talent to draw, but this doesn’t mean that we are limited solely to our talent. Thanks to transferring paper, nowadays, all of us (including the not-so-talented ones) have the opportunity to create some marvellous works. As the name supplies, this paper is used for transferring a picture to a canvas or any other type of material.
What’s the Difference Between Transfer and Trace Paper?
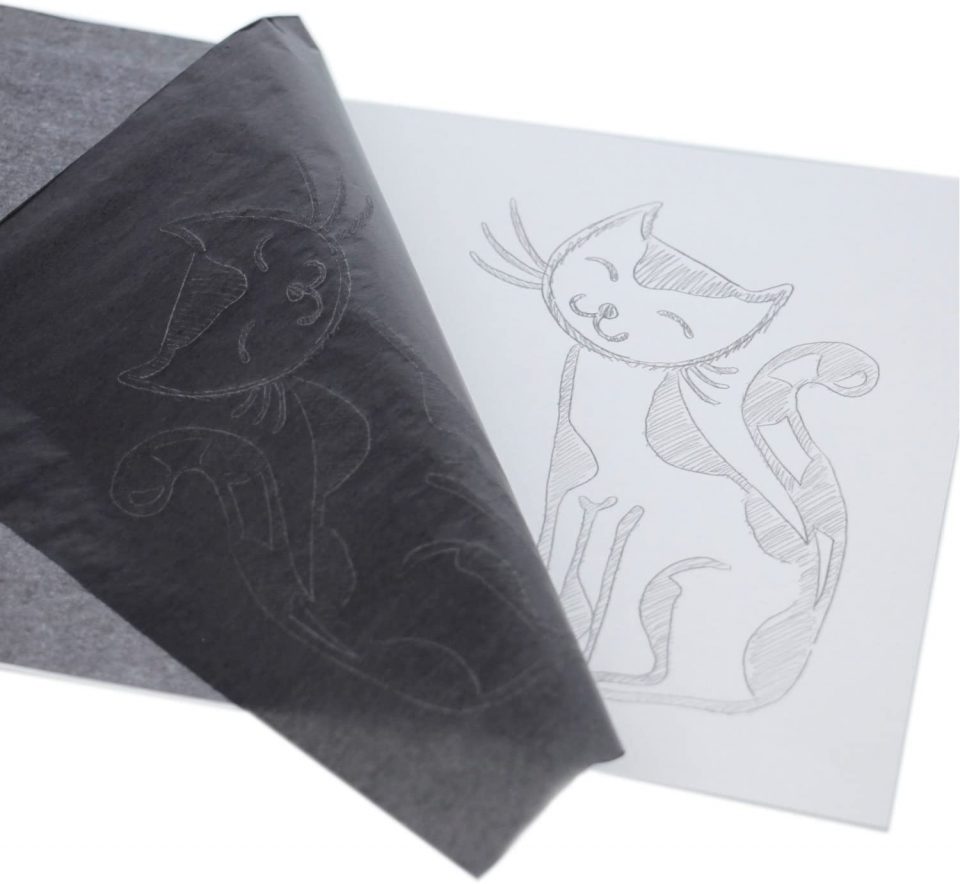
Also known as trace papers, transfer papers are used in art, crafts and textile projects. Generally speaking, the trace papers for drawing are thin pieces of paper that is coated with pigment (graphite or other transferable coatings) and wax. Usually, they come in sheets and rolls ranging in size and thickness, and the one you choose will mainly depend on your need. Great for transferring drawings, sketches and even photo images onto other surfaces, these papers have become a must-have for aspiring amateur artists.
Now that you already know that transfer paper is usually known as trace paper, the other thing you need to know is that these two types of paper are totally different. When compared to transfer, trace papers are thinner and almost translucent. Although this type of paper is also available in rolls, it’s also available in pads and individual sheets (although rarely). This type of paper is mainly used by architects and engineers, however, some artists also love to use it for their drawing projects as a template guide.
How to Use Transfer Paper?
For Transferring Designs and Outlines
The first thing you ought to do is to make a copy of the image that needs to be transferred. Once you have, you’ll need to clean it in order to remove any dirt or dust. The best thing about this paper is that it can work on a number of surfaces like canvas, ceramics, wood, drywall, etc. Now that you have chosen your receiving object, it’s time to clean it with the help of a microfibre towel as this is the ideal way to leave the surface dust-free.
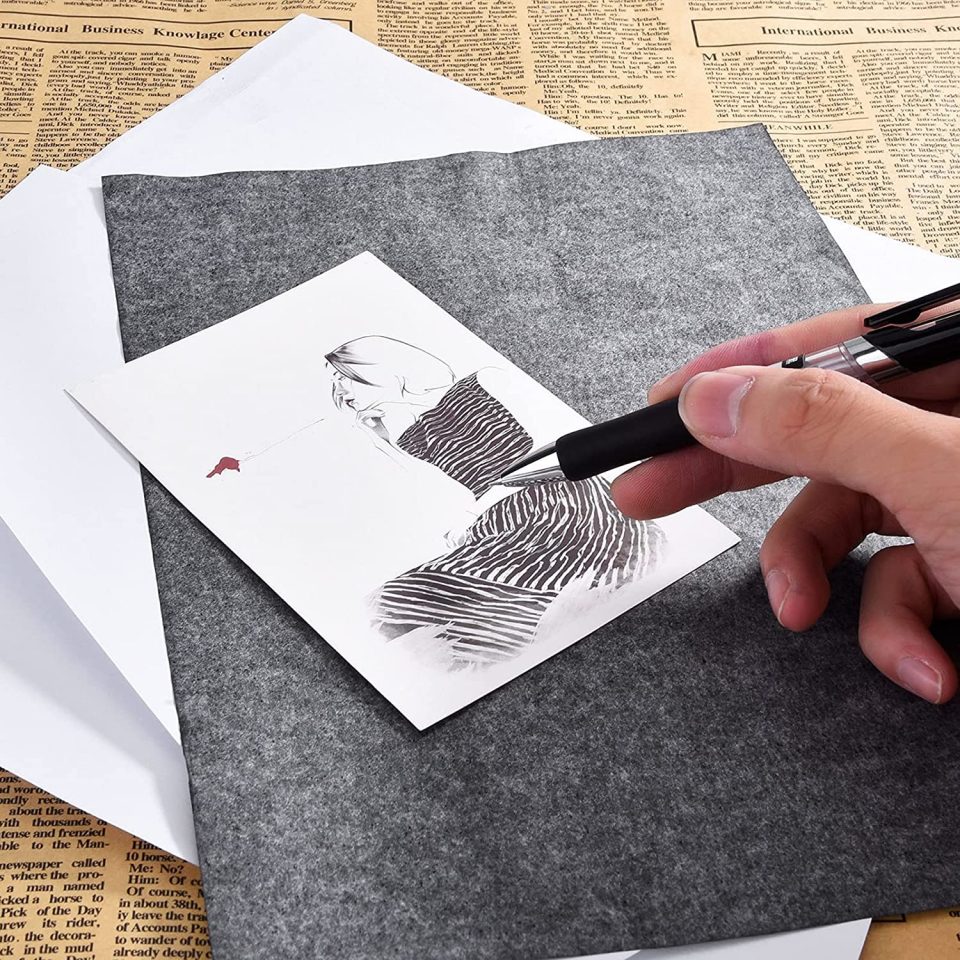
When using a sheet or a roll, you need to cut the paper a little bit large than the original painting/photo so you could secure it by its ends with the help of drafting dots or masking tape. This is essential for the paper not to move while you are tracing the design underneath. When done, you can proceed to trace the pattern with the help of a ballpoint pen or a stylus. When tracing it, experienced artists recommend pressing down firmly in order to have a better transfer onto the receiving surface. Once done, you can remove the transfer paper and proceed to the use of glaze, burn or paint to make it permanent.
For Moving Vinyl Cutouts
If what you want is to use this paper for moving vinyl cutouts, then the first thing you need to do is to print out your vinyl and clean it with the help of a microfibre cloth. You can also use a residue-free rug to wipe away any dirt and debris. In case the vinyl has its background intact, then you should gently and slowly peel it off.
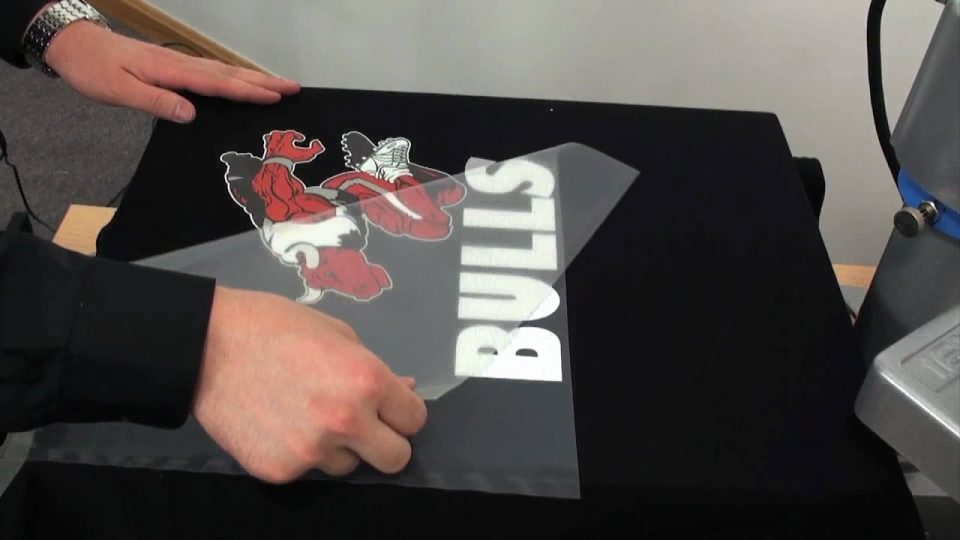
When done, take a transfer vinyl paper and place it over the vinyl on top of the design. With the help of a scraper tool, smooth the transfer paper over the vinyl and make sure it sticks to it properly. Now that you have rubbed down the paper, slowly peel it back by also making sure that the vinyl design has come up with it and then align it over the surface on which you want to transfer it. And finally, start pressing gently in order to properly transfer the vinyl, first with your hand and then with a scrapping paper, after which you can remove the paper.
For Heat-Transferring Prints on Fabric
The first thing you need to do is to wash the fabric after which you can print the heat transfer design if you are using a photo or intricate design. For this purpose, you should use printable heat transfer paper as this allows you to print out the design directly from your computer using a heavy paper setting.
Once the design is ready, arrange it on the fabric precisely because once you put heat on it, you won’t be able to move it anymore. With the help of an iron, iron the backing (not the vinyl) and for better results, you can use a thin towel or a piece of parchment paper between the transfer backing paper and the iron to prevent any wrinkles. Once you’re done ironing, allow it to cool for about 50 seconds and then gently peel it off.
