Contents
Are you tired of the same old drinks in your home bar? Then, why not shake things up with some homemade liqueur? Making your liqueurs is a fun and rewarding hobby, and it also allows you to customise the flavours to suit your taste.
We take you through the step-by-step process of creating your top-shelf liqueurs at home; from Irish Cream to Sambuca, you’ll be amazed at how easy and satisfying it is to make your own. So, let’s get on a boozy adventure and help you make your liqueur at home!
Ingredients and Equipment

Quality ingredients are essential to achieving the best homebrew liqueurs in flavour and consistency. Whether experimenting with new flavours or replicating your favourite liqueur, investing in quality ingredients will help you achieve a top-shelf result. Here’s what you need to stock up on and get started on your liqueur-making adventure.
Ingredients Needed for Making Liqueurs
You’ll need various ingredients to make your liqueurs. These include base alcohol, such as gin, vodka, brandy, or rum, and flavouring agents, like herbs, spices, fruits, or coffee beans. Some brands offer a liquid base and flavouring all in one, while others, such as the Top Shelf homebrew liqueur range, provide a still spirit base in the form of a powder and liqueur flavouring agents that come with each base type. Sweeteners such as sugar, honey, or agave syrup are also necessary to achieve the desired taste. Finally, you’ll need water to dilute the alcohol and reach the right consistency.
While you can find many of these ingredients at your local grocery store, we recommend using high-quality ingredients from a specialty supplier for the best results. You can find some of these stores online. Look for those offering Top Shelf Liqueurs in their product range with everything you need to create delicious homebrew liqueurs, including Irish Cream, Butterscotch, Sambuca, Coffee, Chocolate, and Schnapps.
Equipment Needed for Making Liqueurs
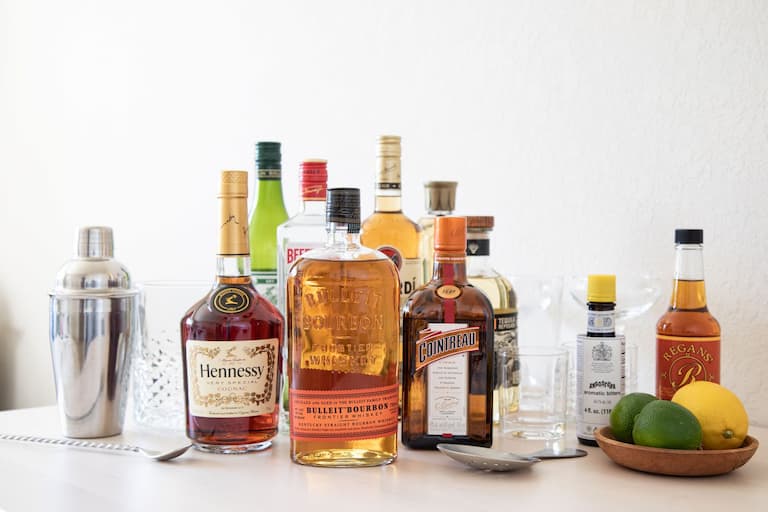
You’ll need a few essential pieces of equipment to make your own liqueur at home. Having these tools at your disposal will make the process much easier and more efficient. They include:
- Glass jars or bottles for storing the finished product
- A funnel for pouring ingredients into the jars or bottles
- A strainer or cheesecloth for filtering out any sediment
- A saucepan for heating the ingredients
- A measuring cup or scale for measuring ingredients accurately
How Is Liqueur Made Step by Step?
Making your liqueurs at home is a simple and rewarding process. As a beginner, you want to follow the instructions step by step. Once you get the catch, it’ll get more manageable with every next attempt. Here’s an overview of the basic steps involved:
- Measure your ingredients. Accurate measurement is crucial in liqueur-making. Follow your recipe closely and use a measuring cup or scale to ensure you add the correct amounts of each element.
2. Heat the ingredients. Combine your base alcohol, flavouring agents, and sweeteners in a saucepan and heat over low to medium heat, stirring occasionally, until the sugar dissolves and the flavours have infused into the alcohol.
3. Cool the mixture. Once the ingredients thoroughly combine, remove the saucepan from the heat and let it cool to room temperature.
4. Store the mixture. Pour the cooled mixture into a glass jar or bottle and seal it tightly. Store it in a cool, dark place for at least 2-4 weeks or until the flavours fully develop.
5. Strain the mixture. After aging finishes, strain the mixture through a cheesecloth or strainer to remove any sediment or impurities.
6. Adjust the consistency. If needed, dilute the liqueur with water or other liquids to achieve the desired consistency.
7. Enjoy! Your homemade liqueur is now ready to be enjoyed! Serve it over ice, mix it into cocktails, or give it as a thoughtful gift to friends and family. It’s critical to remember that accuracy is key in the liqueur-making process. Be sure to measure your ingredients precisely and follow your recipe closely. Additionally, be patient during the aging process. Allowing your liqueur to sit for at least a few weeks will ensure the flavours have time to develop and mature fully.
Tips for Storing and Serving Homemade Liqueurs
After spending time and effort creating your homemade liqueur, it’s essential to store it properly to ensure it stays fresh and flavourful. Here are some tips for storing and serving your homemade liqueurs:
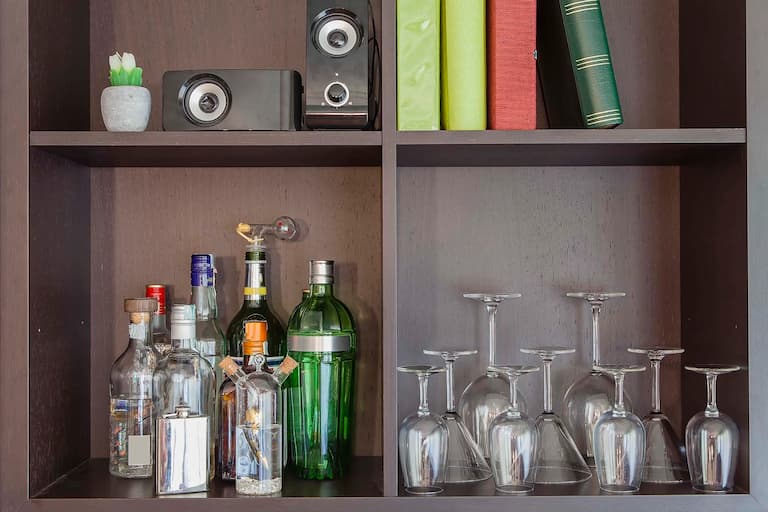
- Choose the proper bottles. Use glass bottles with airtight caps or corks to store your homemade liqueur. These types of bottles will help to preserve the flavour and prevent oxidation. You can find a variety of suitable bottles for liqueurs at homebrewing stores or online retailers.
- Store in a cool, dark place. You should store liqueurs in a cool, dark place away from direct sunlight, heat, and humidity. A pantry or cupboard is a great spot for storage.
- Age for optimal flavour. While most liqueurs are ready to drink after 2-4 weeks of aging, some may benefit from additional aging. Consider storing your liqueur for up to 6 months if necessary.
- Serve at the right temperature. Many liqueurs are best served chilled or at room temperature. Experiment with different temperatures to find the ideal one for your specific liqueur.
- Use in cocktails. You can use your liqueurs to create delicious cocktails that are perfect for entertaining. Experiment with different recipes to find the ideal combination of flavours.
- Enjoy over ice. For a simple and delicious way to enjoy your homemade liqueur, serve it over ice. That allows the full range of flavours to come through and is a great way to savour the unique characteristics of your homemade creation.
With these tips, you’ll store and serve your homemade liqueur confidently, ensuring they taste amazing and enjoying them to the fullest.
